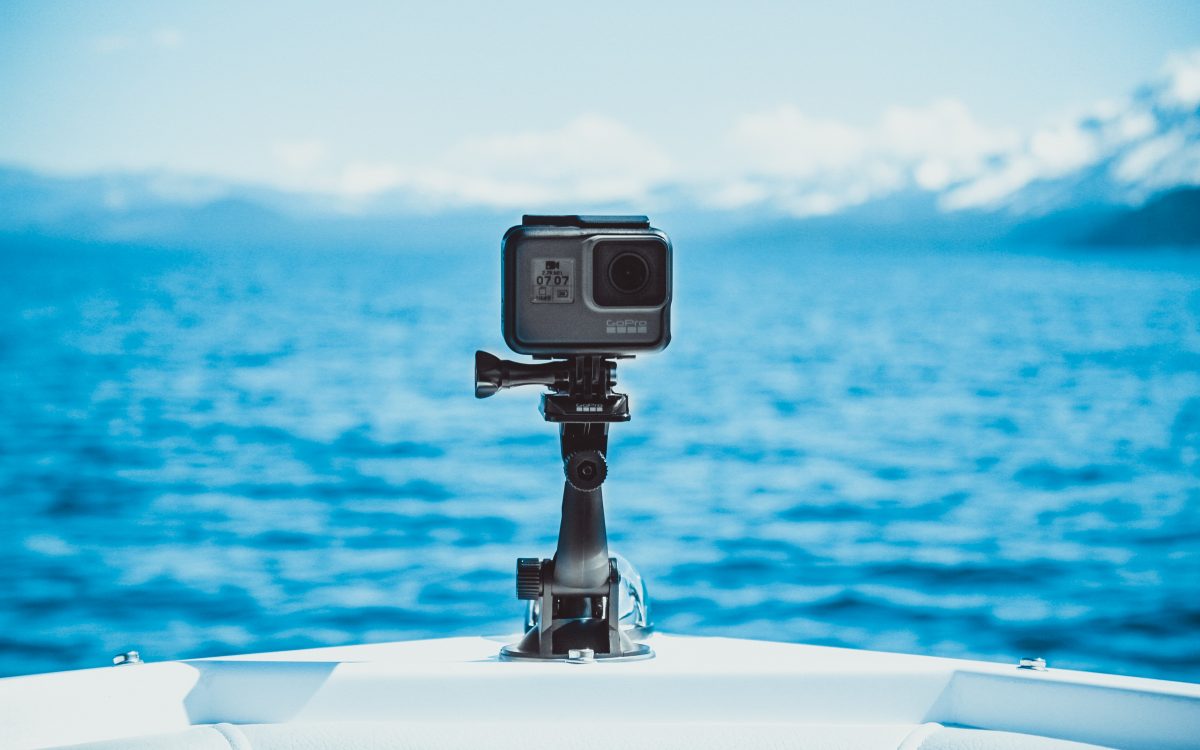
Looking for a tutorial that shows how to make an incredible timelapse with your GoPro? Here it is, just for you! Buckle up!
Contents
If you’re willing to create a timelapse with your GoPro, you must take into account that there are two ways: taking a series of photos to place them into a sequence to create a video or shooting directly as a standard video.
Taking a series of photos
To make a timelapse from raw photos, first you have to actually shoot photos. A lot. So these are the steps to make the best out of this part:
Set your GoPro to capture timelapse footage
Before everything else, you have to set this mode in your GoPro:
- Click the top SHUTTER button to start recording.
- The camera’s red LEDs will blink to indicate that the camera is capturing footage, and the time counter will show the amount of timelapse video footage captured.
- Press again the top SHUTTER button again to stop your recording.
Select your frame
Take your time to select a good frame and set the desired exposure, taking into account that the better raw material you get, the better timelapse you will get. Choose an interesting point of view or a breathless landscape.
Always use a Tripod
Your photos must be stable and shot from the exact same point all the time, so the tripod is a must if you’re looking to do a correct timelapse.
Apart of the tripod, you can need attachments and mounts, that normally can be found in the GoPro kit.
Don’t focus on tiny details, what counts is the series of photos
Don’t worry if some of the images you make are not perfect, because in the editing process you can remove them. Remember this, later you will always have time to delete, edit or modify, just focus in getting as much material as you can.
Always use a good Memory Card
Always make sure you have a memory card that can keep up with you, our recommendation is to have one that at least a 32GB Class 10 memory card. Maybe with a slower card you could be ok, but is safer not to take the risk as it won’t probably keep up with the incoming new images.
Take your time
To build a timelapse, you must accept that you will need a lot of shooting material, as for example, a 30 second video will need 90 minutes of shooting . If you want to calculate how much time of shooting material you will need, check out our timelapse calculator.
Take your time and make sure you don’t have to come back and shoot everything again. You won’t regret it!
Build a timelapse from the photos
Now that you have all the photos that you need for a timelapse, you must edit them and set them as a sequence to actually create a video.
To do this, check out our post How to create a timelapse from still images where you will find all the information you need!
Record a timelapse video directly
If you willing to create a timelapse shooting directly in video format, you must follow these steps with you GoPro camera:
- Turn on your GoPro camera
- Select ‘Video’ using the front button or through GoPro App
- Press the ‘Settings’ button on the side of your GoPro or through GoPro App
- Select ‘Timelapse Video Mode’ from the menu
- Set the settings, including interval time and other elements you want to refine. If you have doubts about this settings, check out our timelapse calculator for help.
- Once everything is set, press the top button to start shooting
Even if shooting video, we recommend you to follow the steps of the “shooting photos” option, to make sure you get the best material: frame your photo, use a good memory card, a tripod…
GoPro Night Lapse
From the GoPro Hero 4 and newer devices, Night Photo and Night Lapse modes are included, allowing you to use your camera for sunrise, sunset and night time shots with more clarity and definition.
Here you can find a video tutorial and the steps to follow to activate the night timelapse mode:
- Turn on your GoPro camera
- Select ‘Video’ using the front button
- Press the ‘Settings’ button on the side of your GoPro
- Select ‘Night lapse Mode’ from the menu
- Set the settings, including interval time and other elements you want to refine.
- Once everything is set up, press the top button to start shooting
Conclusion
So that’s all! We have reviewed everything you’ll need to create a great timelapse with your GoPro, being able to build a cool video and share it with anyone you want.
