Creating a timelapse video isn’t only about speeding up your video file but also to slowing it down if necessary.
In this post we will see how to slow down your timelapse, both in iPhone or desktop. In our post, we will cover the process with tools that are either already preinstalled in your computer or free. Enjoy!
Contents
How to slow down a timelapse video on Mac
To slow down your speedpaint video on Mac, check out these these steps:
- Open the app “iMovie”

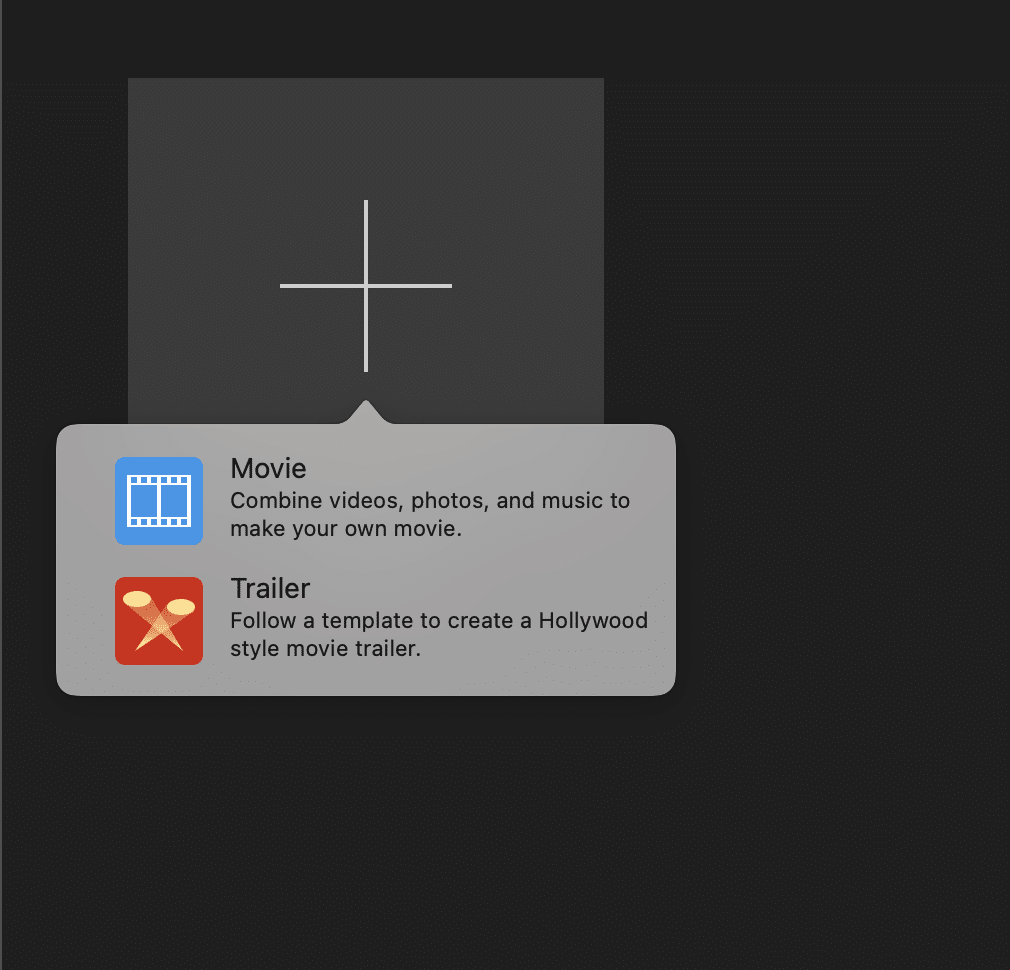
- Press “Create New Project” and select “Movie”
- Drag and drop the video file into the timeline:
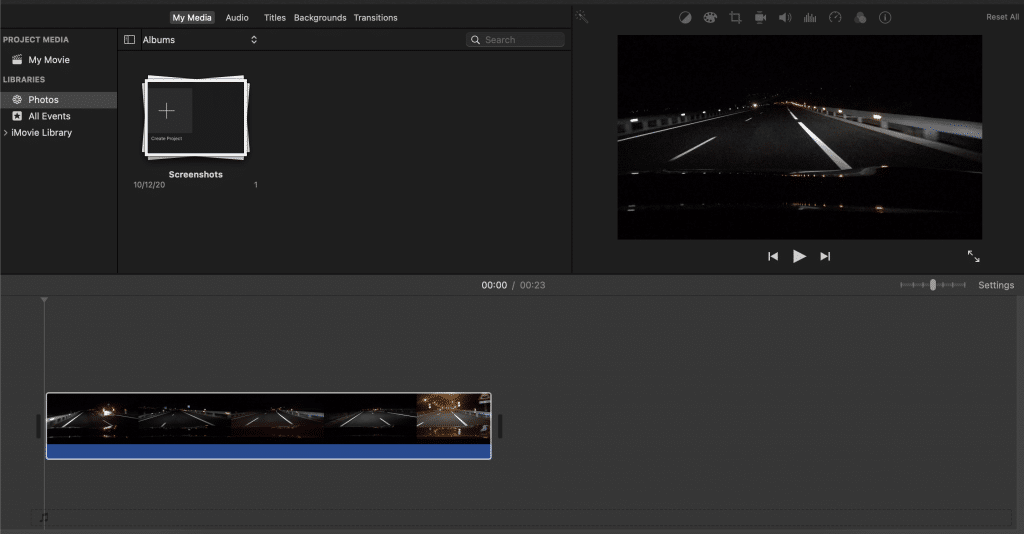
- Click on the clip and then press in the speed symbol or right click on your clip and press “Show Speed Editor”
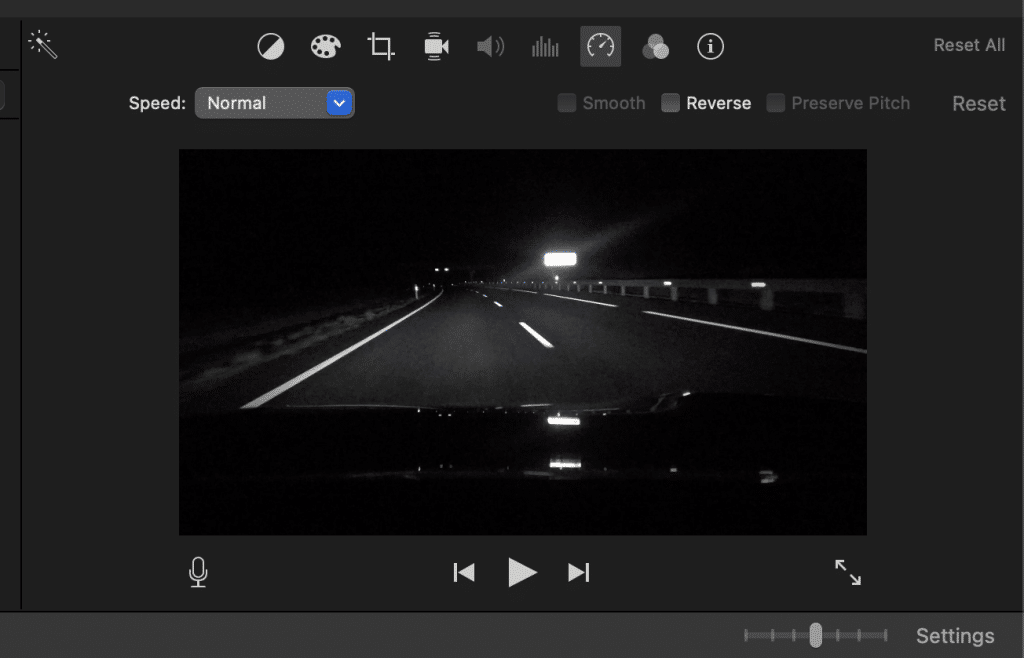
- Select in the menu “Slow” and choose between the different % of speed reduction, till you’re happy with the result.
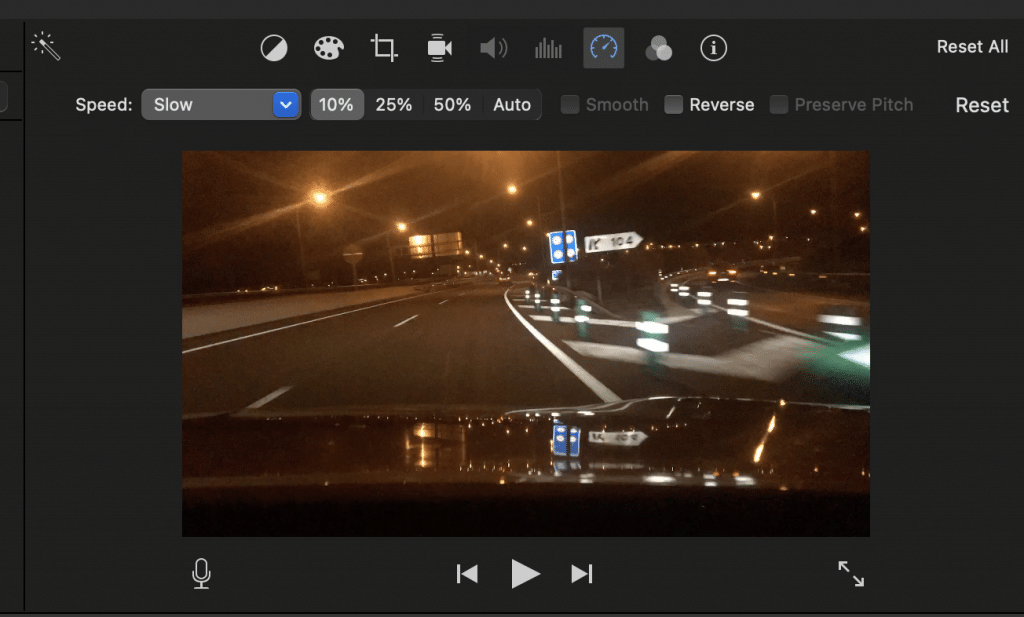
- Also, you can choose the custom option and a small circular knob will appear in the upper right corner of your clip. Click and drag the speed knob to the right, decreasing its speed. An icon of a turtle will appear on top of the clip, indicating the clip has been slowed down.

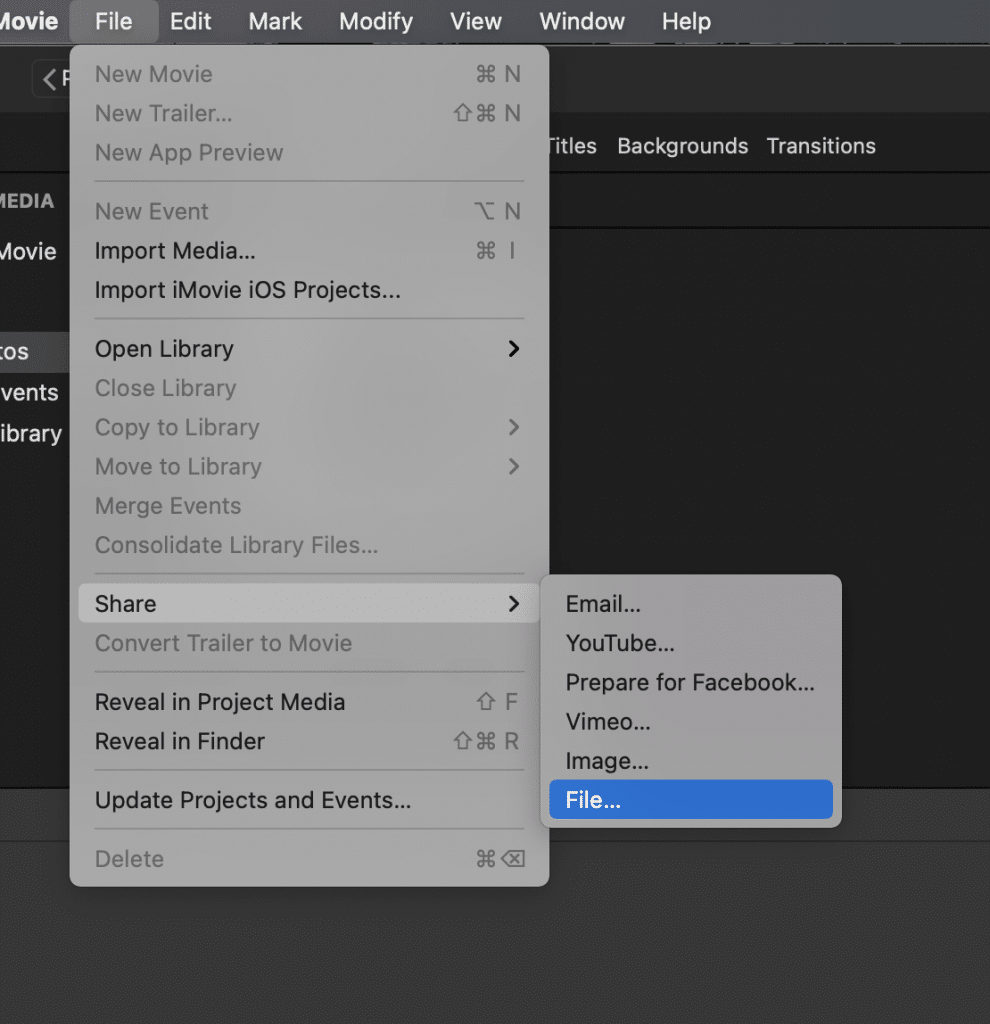
- Once you’re happy with the final speed, export the final video by going to “File ▸ Share ▸ File” and select the location where you’d like to save your edited timelapse.
How to slow down a timelapse video on Windows
To slow down your speedpaint video on Windows, check out these these steps:
- Open the app “Windows Photos”
- Import or open your recorded video file to Photos. To do that:
- Click on “New video Project”
- Add the timelapse you want to edit by going to the Project Library section and clicking the “+ Add” button.
- Add your recorded video from your PC.
- Click on “Place in storyboard” to add your video to the project storyboard.
- On the Storyboard section, click on the clip.
- Click on the “Speed” icon on top of the storyboard.
- Adjust the clip speed using the speed slider that shows up under the title “Set clip speed”. Slow it down till you are happy with the result.
- Finish and export your video.
How to slow down a timelapse video on iPhone
There are different options you can consider to slow down your timelapse in your iPhone, but these are by far, our favourites:
iMovie
This app is completely free and really useful to slow down your timelapses.
- Open iMovie and create a new project
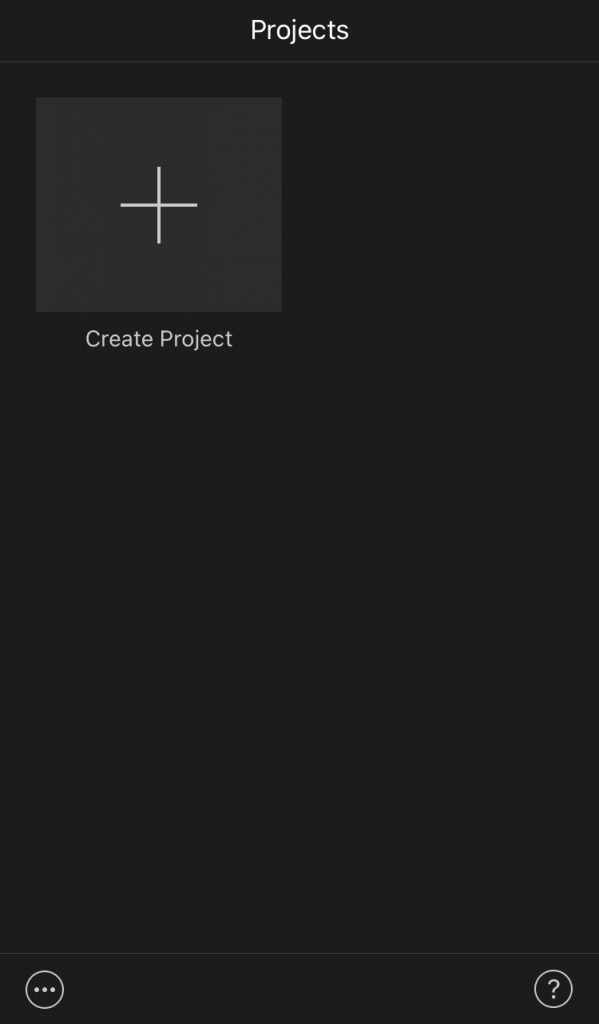
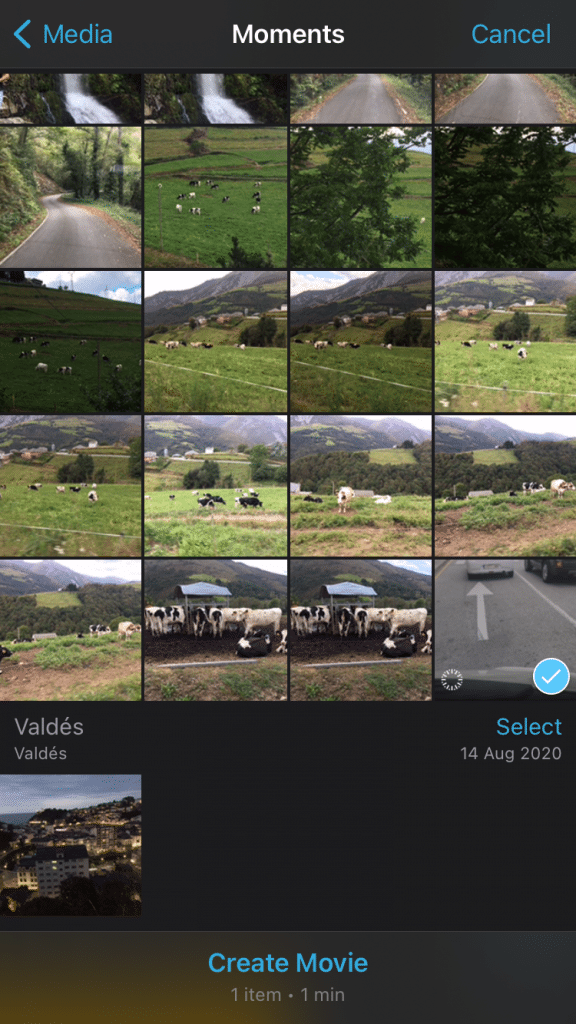
- Choose “Movie” and select the timelapse you want to edit
- Click over the video and select the “Speed” icon below
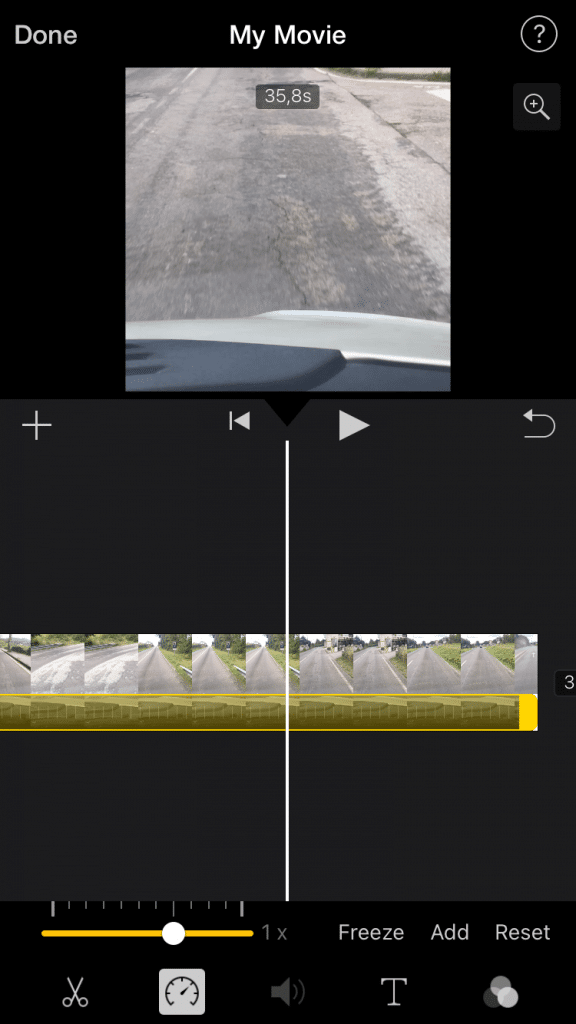
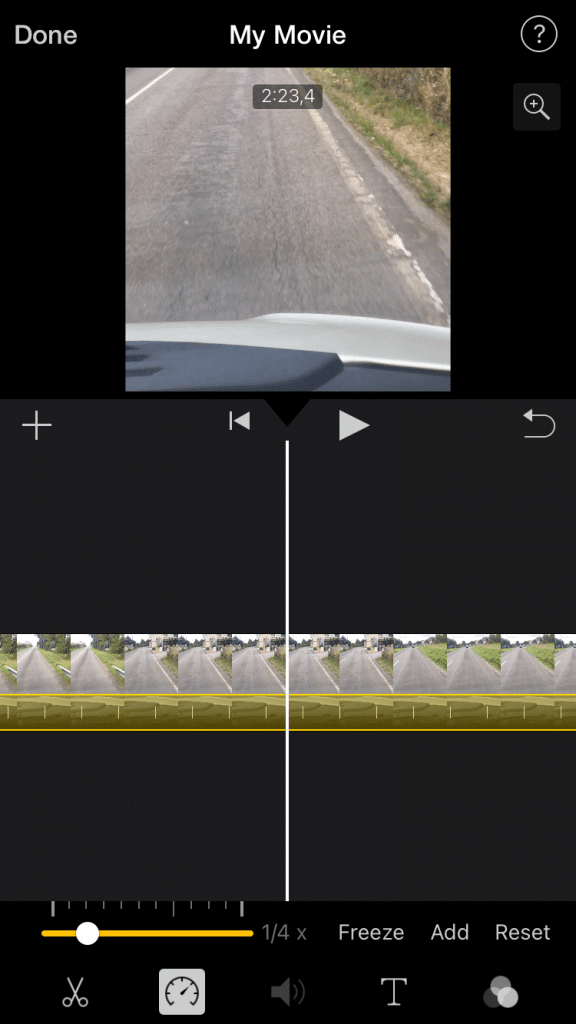
- Move the slider to the left, slowing down the video till you are satisfied with the final result. Press Play anytime if you need you watch a preview
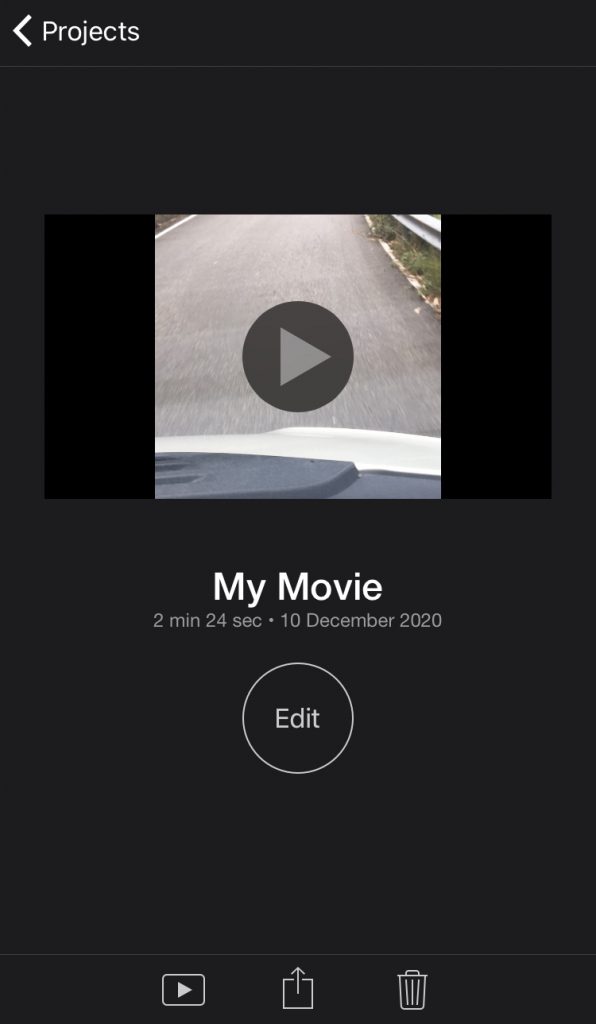
- Tap “Done” when finished and export or share your new timelapse!
Hyperlapse
This free app belongs to Instagram and has a built-in camera so you can shoot and edit your timelapses directly
- Open the app and tap and hold to focus exposure. Press the shutter button to start recording.
- Once you’ve recorded everything you wanted, press the shutter button again to stop recording.
- At the bottom of the screen, you will see a timelapse speed control bar; by default, the speed will be 6x, so to slow it down just drag the slider to the left till you find the speed desired.
- Press the green checkmark when you’re happy with the result.
- Export or share your video
Conclusion
In this tutorial guide, we’ve shown you step by step how to do a slow down a timelapse video.
First, you need to download the app you will need for this editing (like iMovie or Windows Photos), then, you need to follow the steps we’ve given you to slow down your video, resulting in the final timelapse.
We’ve also covered how to slow down timelapses on iPhone, which share several similarities with the process of slowing down a timelapse on desktop.
