
Before we start
Having spent some years researching about time-lapse screen recorders and having suffered the painful hassle of recording, editing and speeding up our screen time-lapse videos, we’ve created an extremely easy to use time-lapse app for Mac anybody can use.
So here’s a tip for you: get Hustl to quickly and easily do everything that will be mentioned in this article. Hustl will automatically record a time-lapse video of your screen in just a click. But if you want to do it manually all by yourself, we’ve made this guide to help you.
Maybe you’re working on something really cool on your computer, like developing an app, or making a piece of art, and you want to show the whole process in a catchy, mesmerizing video: a timelapse screen recorder might be just the thing you need.
So if you’re wondering how to make a screen recording into a timelapse, or just how to make a time-lapse of your computer screen, stick around because we’re going to cover the 3 best alternatives out there, both for macOS and for Windows!
Method 1: How to record a screen timelapse using QuickTime + iMovie [FREE]
[ macOS only] Using QuickTime to capture your screen and then using iMovie to speed up the video to obtain a time-lapse video is one of the most popular options out there when it comes to time-lapse screen recording, because both of these apps are free and come already installed with your Mac computer. This is a method for Mac users only, if you’re looking for a Windows method make sure to check out the rest of the options below.
To record a timelapse of your screen on Mac for free using QuickTime and iMovie:
- Open QuickTime. You can do this by pressing the
⌘ command+spacebarkeys and writing “QuickTime”. Select the app from the list to open it.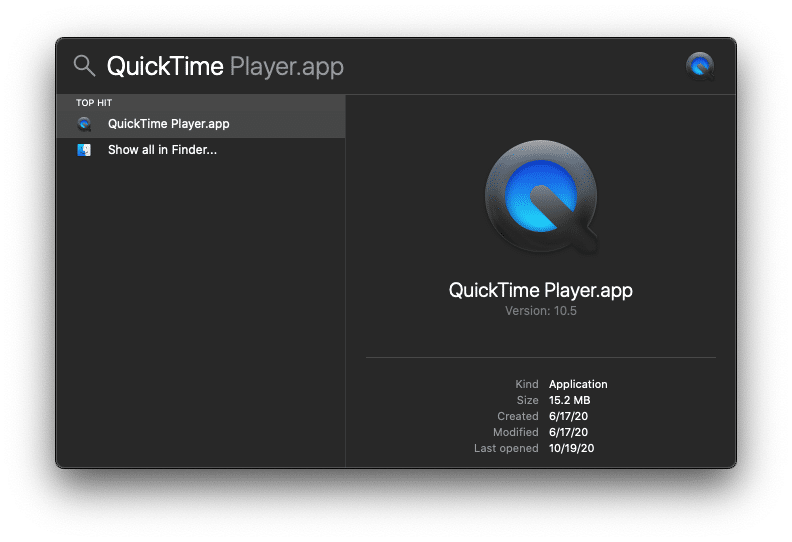
- On QuickTime, go to File → New Screen Recording. Make sure you grant it screen recording permissions if it asks for them.
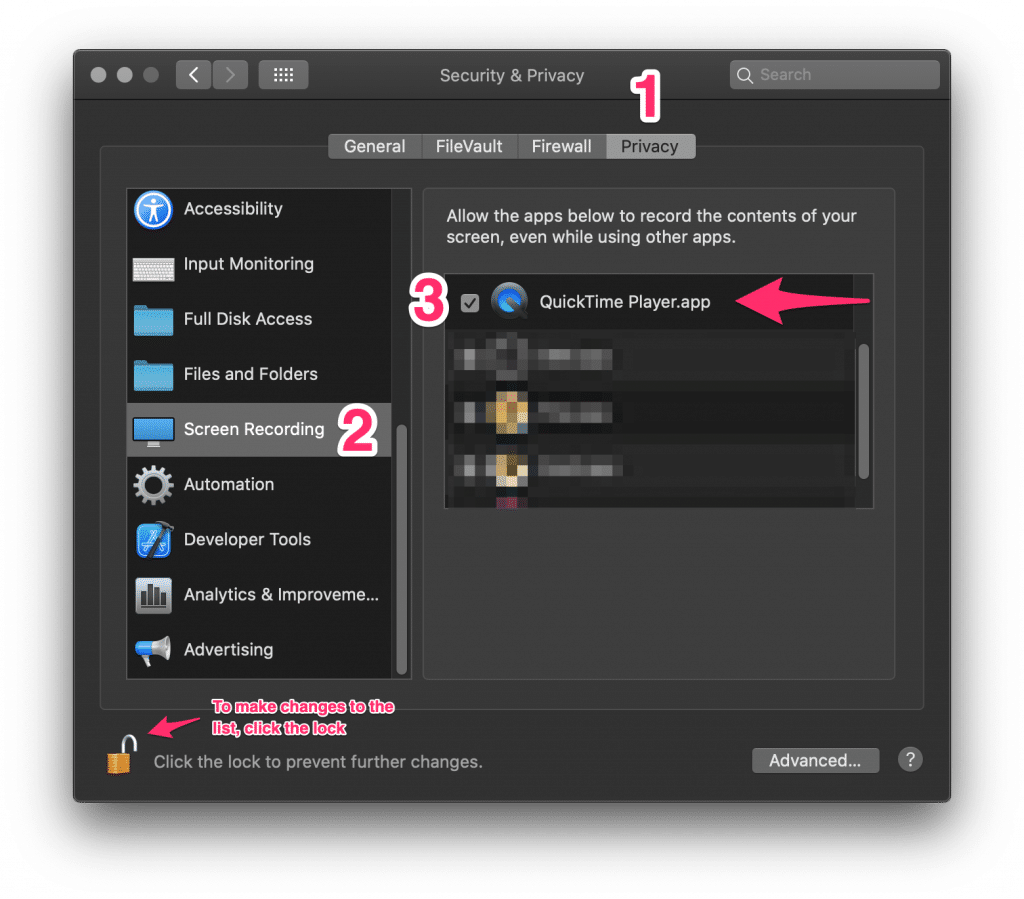
- If you’re recording your screen with QuickTime and you can only see the desktop wallpaper, or if you’re not sure QuickTime has screen recording permissions, go to System Preferences (by clicking on the Apple icon on the top left of your Mac), then selecting System Preferences → Security & Privacy → Privacy tab → Screen Recording and making sure QuickTime is in the list and has a check mark next to it. If you don’t see QuickTime in the Screen Recording privacy settings, you can add it manually by clicking the lock icon on the bottom left corner to unlock the preferences menu and then dragging and dropping the QuickTime app into the list.
- If you’re recording your screen with QuickTime and you can only see the desktop wallpaper, or if you’re not sure QuickTime has screen recording permissions, go to System Preferences (by clicking on the Apple icon on the top left of your Mac), then selecting System Preferences → Security & Privacy → Privacy tab → Screen Recording and making sure QuickTime is in the list and has a check mark next to it. If you don’t see QuickTime in the Screen Recording privacy settings, you can add it manually by clicking the lock icon on the bottom left corner to unlock the preferences menu and then dragging and dropping the QuickTime app into the list.
- Select the area to record and start recording your screen. When you’re done, click the stop icon in the menubar to stop and export your recording.

- This will have recorded a screen video in real time. It’s now time to speed it up using iMovie. (Warning: these real-time videos can get very large, often 100s of GBs in size – so make sure you have enough free space left in your hard drive. If you don’t want to deal with large files, you might want to try Hustl)
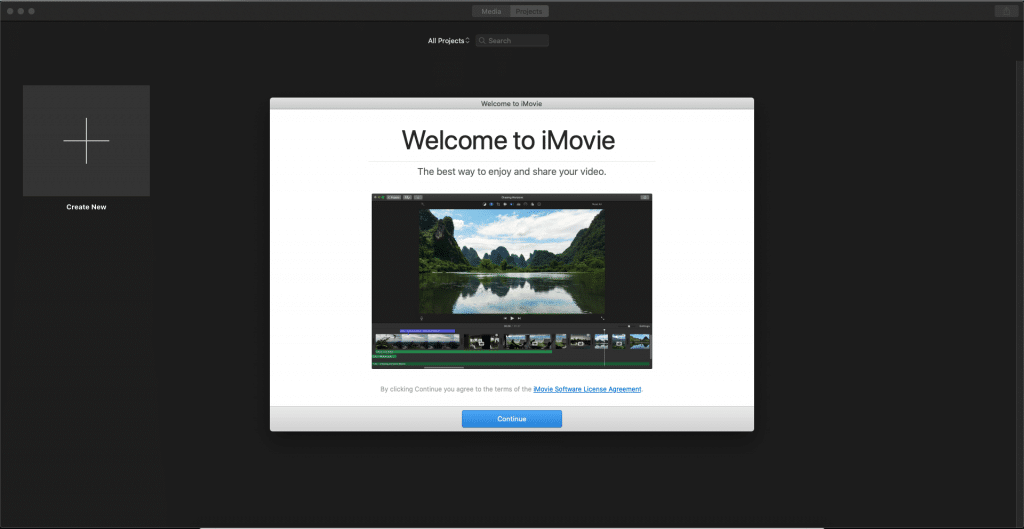
- Open iMovie (you can download it for free from the Mac App Store if you don’t already have it installed)
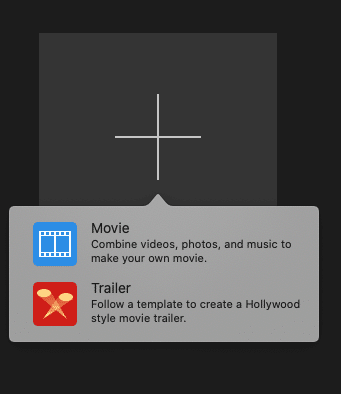
- Click the big “+” plus icon labelled “Create New” to create a new project. Select “Movie” when asked.
- Now locate the video you recorded using QuickTime. When you exported it, you selected the folder where it was saved, which is typically the Downloads folder, the Movies folder, the Desktop or your Home folder. Once you have located the video, drag it and drop it on the iMovie timeline to add it to the current project.
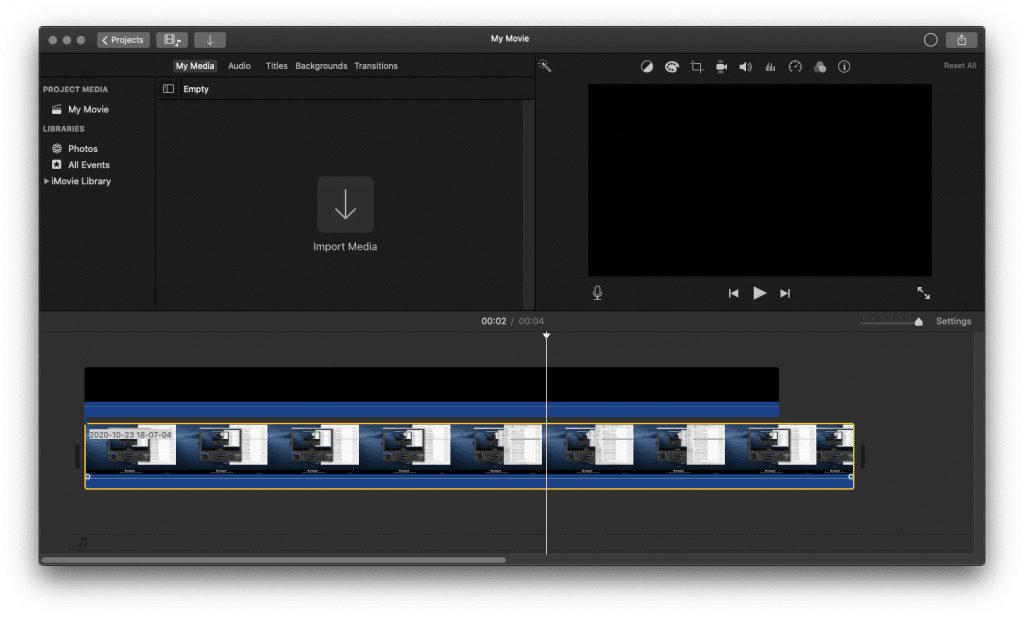
- Click on the video on the timeline. It will become selected, which you will notice because it now has a yellow border.
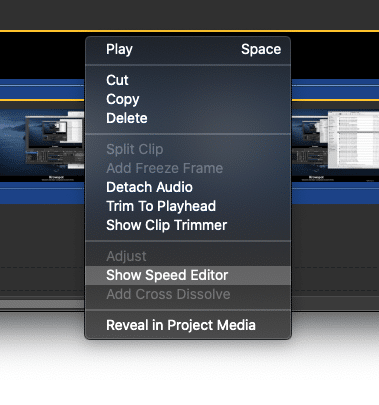
- Right click on it and select “Show Speed Editor”.
- Now you will see a knob in the top right corner of the video. This is the speed selection knob. To adjust the clip speed, you just need to drag the knob left and right.
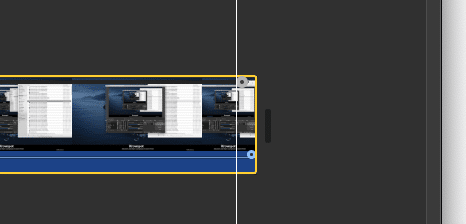
- If you drag the knob all the way to the left, you’ll be speeding it up at max velocity. A rabbit icon on top of the clip in the timeline indicates that the video has been sped up.

- You can now go to File → Share → File… to export your time-lapse video.
- Choose a name for your recorded and sped up screen timelapse and click “Save”. Your timelapse will be saved to the selected location.
- If the final speed of your screen timelapse video is not high enough (this might happen in long timelapses, where you want to compress hours and hours into just a few seconds, which is something iMovie doesn’t directly allows), you can repeat steps 7 through 13 but with the timelapse you already exported instead of the original QuickTime video. Each time you do this, you’ll speed up the video more! If you don’t want to do this process over and over again, you might want to try out the next method, the Hustl app, which does this automatically and effortlessly.


Method 2: How to record a screen timelapse using Hustl
This is probably the easiest and quickest method to record time-lapses of your computer screen: Hustl is the best timelapse screen recorder. When it comes to simplicity and ease of use, Hustl has no rival. It’s the only native screen recorder with time lapse out there, and it has been designed and engineered specifically to record timelapses, so making cool, engaging videos its built-in at the core of this app.

To use Hustl, you just need to follow these steps:
- Get it from the official page
- Click the record button
- Click the stop button
And that’s it! you’ll have a ready-to-share timelapse video, as easy as that!
Hustl is available for macOS 10.12 or later (and soon it will be available for Windows too, make sure you sign up for the Windows release here!)
Method 3: How to record a screen timelapse using CamStudio + Movie Maker [FREE]
[Windows only] If you’re using Windows, this method to record a timelapse of your computer screen is for you. You’ll learn how to make a time-lapse of your computer screen using only free apps, which comes in very handy if you’re on a budget. Let’s go!
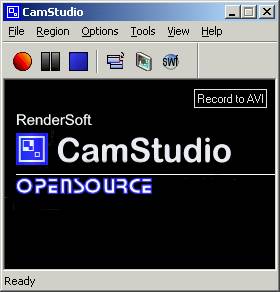
- Get CamStudio, a free screen recorder app for Windows (not to be confused with Camtasia, which is not free, but rather has a free trial version). CamStudio is Open Source, which means its code is freely available for everyone to see and modify, and it works with most Windows versions and most video codecs. The latest version is CamStudio v2.7 and it’s only 3.8Mb in size.
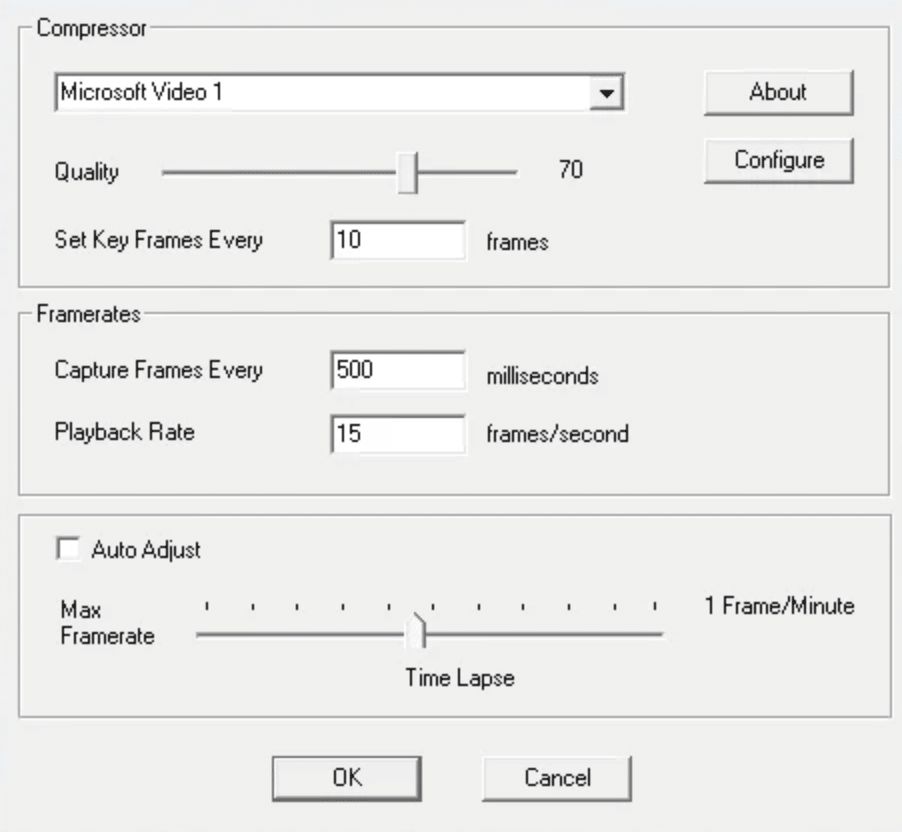
- Select the right settings to record your computer screen. Once you have opened CamStudio, go to Options → Video Options and select the right video capturing settings:
- In “Compressor”, select an adequate video codec. The best option may be to go with the default, which would probably be “Microsoft Video”
- In Quality, choose the desired quality of the video.
- Select the right framerates for your screen timelapse video. You can find the best ones for your project using our time-lapse calculator. One good initial setting could be to capture frames every 500 miliseconds and a playback rate of 15 frames/second.
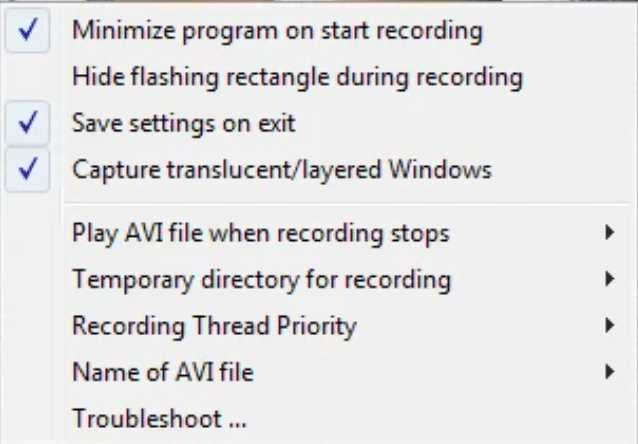
- Adjust further recording settings. In CamStudio you can choose whether to record the cursor while recording or not, whether to record audio together with the video and whether to record the full screen or just a certain area of the screen. All these settings can be modified by going into Options → Program Options and then checking or unchecking the desired options.
- To record the full screen, go to Region → Full Screen; and to select just an area of the screen, go to Region → Region and select the region you want to record.
- Start recording! Do your thing on the screen and then hit stop then you’re done.
- Your video will be saved to the default program folder, which is located on Local Disk (C:) → Program Files → CamStudio
- Now we need to speed up your video with Windows Movie Maker (on the new Windows systems, this app is called Windows Photos app).
- Open the Windows Photos app (click here to open it)
- Import or open your recorded video file to Photos. To do that:
- Click the Video Editor tab
- Click on “New video Project”
- Click on OK.
- Add new media elements by going to the Project Library section and clicking the “+ Add” button.
- Select and add your recorded video from your PC.
- Click on “Place in storyboard” to add your recently imported video to the project storyboard.
- Now, on the Storyboard section, select your clip.
- Click on the “Speed” icon on top of the storyboard section.
- Adjust the clip speed using the speed slider that shows up under the title “Set clip speed”. Set it to the fastest setting.
- Finish your video and export it.


All done! This will export the finished screen timelapse video of your computer screen in Windows! If you don’t want to go through all this hassle just to record your time-lapse video, make sure to sign up for the Hustl Windows release here! Hustl is a much easier and quicker methods to record screen time-lapse videos of your Windows computer screen.
Please share your time-lapse video in the comments below if you record something cool using any of these methods!